Introduction
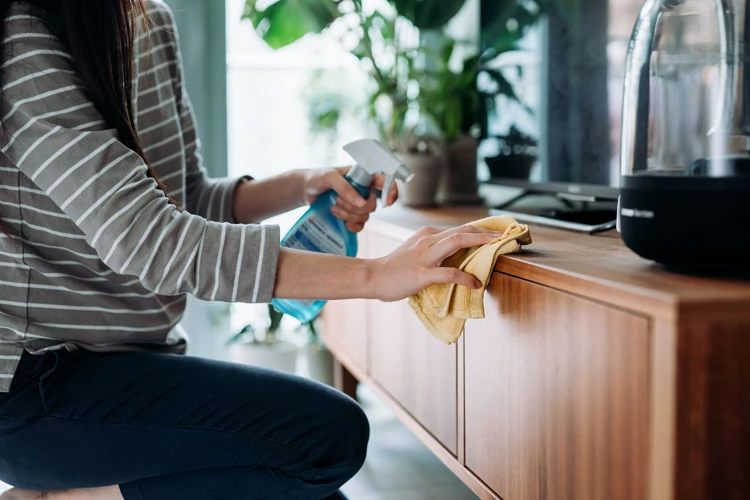
Maintaining the shine and resilience of your wooden surfaces can be a challenging task, but with the right tools and techniques, it can be made much easier. Wooden surfaces can add warmth and character to any room, but over time, they can become dull and begin to show signs of wear and tear. This is where polish comes into play. By using a high-quality polish, you can help protect and enhance the beauty of your wooden surfaces. In this article, we will discuss expert tips for maintaining the shine and resilience of your wooden surfaces using polish.
Why Use Polish for Wooden Surfaces?
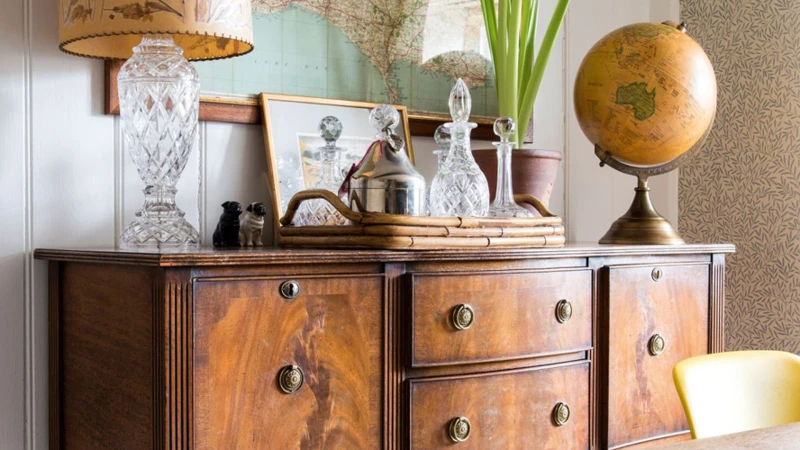
Using polish for wooden surfaces is essential for maintaining their shine and resilience. It helps to create a protective layer that prevents the wood from getting damaged due to moisture, dust, dirt, and other harmful elements. Proper polishing can enhance the natural beauty of the wood grain.
Polish is also beneficial for restoring the shine of wooden surfaces that have become dull or faded over time. It can fill in small scratches and cover up minor blemishes, giving the wood a smooth, even appearance.
Using the right type of polish can also provide your wooden surfaces with long-lasting protection against UV rays that can cause discoloration and fading. This is particularly important if your wooden furniture or flooring is exposed to sunlight for long periods of time.
Choosing the right polish for your wooden surfaces is crucial to achieve maximum benefits. There are different types of polish available, including liquid, paste, and spray polish. Each type has its own unique advantages and disadvantages which will be discussed in detail in the next section.
With proper polishing, you can extend the life of your wooden surfaces and keep them looking beautiful for years to come. If you want to know more about the science behind the shine and polish chemistry, you can check out our Science Behind the Shine: Polish Chemistry and Properties article. If you want to learn the differences between polish and wax in enhancing shine and resilience, visit our article on Polish vs Wax: Enhance Shine and Resilience. There are also several eco-friendly, budget-friendly DIY polish recipes you can try at home. Finally, if you want to explore more polish benefits, read our Furniture Polish Benefits: Why Regular Polishing is Important article.
Types of Polish
Now that we have established the importance of using polish for maintaining wooden surfaces, it’s essential to know the different types of polish that are available. Each type has its unique characteristics, and selecting the best one for your wooden surface can affect how long the shine and resilience will last. In this section, we will take a closer look at the three main types of polish: liquid polish, paste polish and spray polish. Understanding the differences between them will help you choose the right type of polish to use for your wooden surface.
Liquid Polish
One type of polish that you can use for your wooden surfaces is a liquid polish. This type of polish requires minimal effort, dries quickly, and provides a shiny finish. Below is a table with more information about liquid polish:
| Pros | Cons |
|---|---|
| – Dries quickly | – Can streak if not applied carefully |
| – Provides a shiny finish | – Can attract dust easily |
| – Easy to use | – May require frequent applications to maintain shine |
| – Can be applied with a cloth or mop | – May not be as long-lasting as other polishes |
It’s important to note that, like all polishing products, it’s essential to read the instructions on the bottle before use. Some liquid polishes require shaking before use, while others don’t. Also, don’t forget to test the product on a small, inconspicuous area before using it on the entire surface to avoid any unwanted reactions.
Paste Polish
Paste polish is a type of polish made from a combination of natural waxes, oils, and solvents. It comes in a thick consistency and often requires a bit more effort to apply than other types of polish. However, its benefits are well worth the effort.
Benefits of Paste Polish:
- Paste polish is excellent at filling in small gaps and scratches in wooden surfaces, creating a smooth and uniform appearance.
- It creates a long-lasting protective layer on the wood, providing resistance to water and other liquids.
- Paste polish can create a deeper shine and more defined look than other types of polish.
How to Apply Paste Polish:
- Start by preparing the wooden surface as described earlier in the article. Ensure that it is clean and free from dust and debris.
- Use a clean, dry cloth to apply the paste polish. Scoop out a small amount of polish onto the cloth and work it into the cloth until the polish has softened and become easy to apply.
- Apply the paste polish to the wooden surface, working in small sections to ensure that it is evenly distributed. Use a circular motion to apply the polish, making sure to go with the grain of the wood.
- Allow the polish to dry for several minutes. Once dry, use a clean, dry cloth to buff the surface until it shines. Apply additional coats if necessary to achieve the desired look.
- Remember not to apply too much pressure when buffing, as this can cause scratches in the newly polished surface.
Extra Tips for Using Paste Polish:
- Before using paste polish, ensure that it is at room temperature for easy application. Warm the container in your hands or in a bowl of warm water if necessary.
- Be sure to store paste polish in a cool, dry place to prevent it from hardening over time.
- When using paste polish for the first time, it is advisable to test it on a small, inconspicuous area of the wooden surface to prevent any unwanted reactions or damage to the wood.
Spray Polish
Spray polish is a popular option for people who are looking for a quick and easy way to polish their wooden surfaces. It comes in a can with a nozzle that allows the polish to be sprayed directly onto the surface. Spray polish is great for those who are short on time, as it dries quickly and doesn’t require any buffing.
Advantages of Spray Polish
One of the main advantages of using spray polish is how easy it is to use. You simply spray the polish on and let it dry, which makes it a great option for people with busy schedules. Additionally, spray polish is great for reaching difficult areas, such as corners and hard-to-reach spots. It can also be a good option if you want to give your wooden surfaces a quick touch-up between more thorough polishings.
Disadvantages of Spray Polish
While spray polish is easy to use, it does have some downsides. Because you don’t need to buff the surface after applying the polish, there’s a higher risk of streaking and uneven buildup. Additionally, some sprays may contain silicone, which can actually damage the surface of your wooden furniture over time. It’s important to make sure that the spray polish you’re using is safe for your particular wooden surface.
Here’s a table summarizing the advantages and disadvantages of spray polish for wooden surfaces:
| Advantages | Disadvantages |
|---|---|
| Easy to use | Higher risk of streaking and uneven buildup |
| Great for hard-to-reach areas | May contain damaging silicone |
| Quick drying time |
Spray polish can be an effective and efficient option for polishing wooden surfaces. However, it’s important to make sure you’re using the right product for your furniture, and to be aware of the potential downsides of using this type of polish.
Preparing the Surface
Before polishing your wooden surfaces, it is important to properly prepare the surface to ensure a successful and long-lasting shine. The pre-polish preparation involves cleaning the surface and removing any old layers of polish that may have accumulated over time. By taking the time to prepare the surface, you can maximize the effectiveness and longevity of the polish while also preventing any potential damage to the wood. In this section, we’ll go through the steps to properly prepare your wooden surface before applying polish.
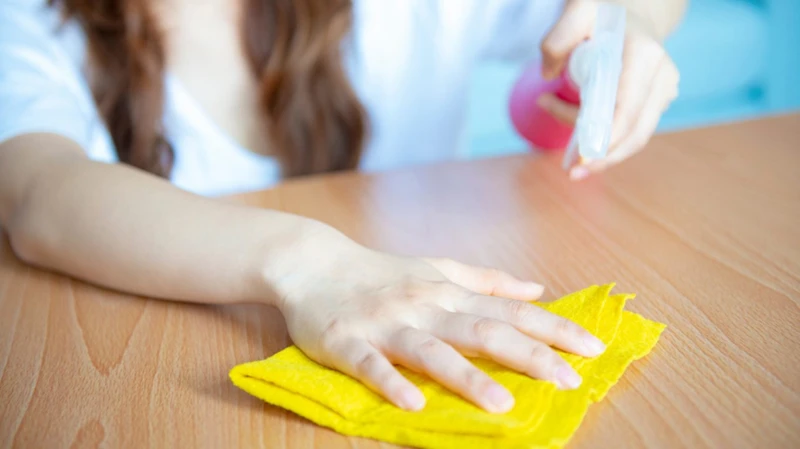
Clean the Surface
Before applying polish to your wooden surfaces, it is essential to ensure that the surface is thoroughly cleaned to provide a clean and smooth surface for the polish to adhere to. Here is how to clean wooden surfaces effectively:
1. Remove any dust or debris: Use a dry, soft cloth or a brush to remove any dust, dirt, or debris from the wooden surface. Ensure you clean every corner and crevice.
2. Use a wood cleaner: You can use a specialized wood cleaner to clean the surface. Make sure you follow the instructions on the label and use a cleaner that is suitable for the type of wood you are working with.
3. Avoid using too much water: Water can damage wooden surfaces, so ensure you use a damp cloth instead of wetting the surface. Wet the cloth and wring it out to remove excess water.
4. Use a microfiber cloth: Microfiber cloths are gentle on wooden surfaces and can help remove any remaining dirt or residue.
5. Remove stubborn stains: If there are stubborn stains or marks on the surface, use a little bit of vinegar or lemon juice diluted in water to remove them. However, exercise caution and test the mixture on a small, inconspicuous area first to ensure it does not damage the wood.
6. Allow the surface to dry completely: Once you have cleaned the surface, allow it to dry completely before applying polish. This will ensure that the polish adheres to the surface correctly.
Following these steps will help you clean your wooden surfaces effectively, providing a clean and smooth surface for the polish to adhere to.
Remove Old Layers of Polish
Before applying new polish to a wooden surface, it is important to remove any old layers of polish to ensure proper adhesion and an even finish. Removing old layers of polish can be done in several ways:
| Sandpaper | If the surface has a thick layer of old polish, sandpaper may be the best option. Start by using coarse sandpaper and gradually move to finer grits until the surface is smooth. |
| Commercial Polish Remover | A commercial polish remover can be used to remove old layers of polish. Apply the remover to the surface with a clean cloth and follow the product instructions, making sure to wear protective gloves and use the remover in a well-ventilated area. |
| Vinegar and Oil | If you prefer to use natural methods, a mixture of vinegar and oil can be used to remove old polish. Mix equal parts white vinegar and vegetable oil and apply the mixture to the surface with a clean cloth. Let the mixture sit for a few minutes and then wipe away with a clean cloth. |
After removing the old layers of polish, it is important to clean the surface thoroughly before applying new polish. This can be done with a damp cloth and mild soap, followed by a dry cloth to remove any remaining residue. Once the surface is clean and dry, it is ready for a new layer of polish.
How to Apply Polish to Wooden Surfaces
Now that you have chosen the perfect type of polish for your wooden surface and have prepared it properly, it’s time to learn how to apply polish effectively. Applying polish to wooden surfaces may seem like an easy task, but it requires attention to detail and the right technique. A smooth and shiny surface will add beauty and elegance to your interior decor. In this section, we will guide you through a step-by-step approach on how to apply polish to your wooden surfaces, ensuring that they maintain their shine and resilience for a long time to come.
Step 1: Shake the Polish Well
Before applying the polish to your wooden surface, it is important to shake the bottle well. This ensures that the ingredients inside are evenly distributed and will provide optimal results. Not shaking the bottle could result in an inconsistent application of the polish, which could affect the shine and resilience of the surface.
To properly shake the polish, follow these steps:
| Step 1: | Ensure that the cap is tightly secured on the bottle. |
| Step 2: | Hold the bottle upright with one hand on the bottom and the other hand around the top. |
| Step 3: | Vigorously shake the bottle from side to side for at least 30 seconds. |
| Step 4: | Listen for a consistent sound of the liquid sloshing inside the bottle. |
| Step 5: | Check the consistency of the polish. It should be smooth and free of lumps or clumps. |
Following these steps will ensure that your polish is properly mixed and ready to apply to your wooden surface. By shaking the polish well, you can achieve a consistent and long-lasting shine that will keep your wooden surfaces looking beautiful for years to come.
Step 2: Apply Polish to a Clean, Dry Cloth
To ensure optimal application of polish to your wooden surfaces, it is crucial to properly prepare the cloth you will be using. Firstly, make sure the cloth is clean and dry, as any dirt or moisture can interfere with the polish’s effectiveness. Secondly, choose a soft cloth like microfiber or a white cotton cloth to avoid scratching the surface. Once you have the appropriate cloth, follow these steps:
| Step | Action |
|---|---|
| 1 | Shake the polish well. Before you begin application, be sure to give the polish bottle a good shake to ensure it is well mixed. |
| 2 | Apply the polish to the cloth. Squeeze a small amount of polish onto the cloth, about the size of a quarter or less. You can also use a polish applicator pad or brush if preferred. |
| 3 | Spread the polish evenly. Use the cloth to spread the polish evenly across the surface of the cloth. Make sure there are no clumps or globs of polish on the cloth. |
Remember to apply a thin layer of the polish, as applying too much can leave a sticky residue or make it harder to buff the surface. To ensure complete coverage of the surface, it is useful to polish small areas at a time, rather than attempting to cover a large surface all at once. With these simple steps, you can apply polish to your wooden surfaces with ease and achieve a beautiful, long-lasting shine.
Step 3: Apply the Polish to the Wooden Surface
After applying the polish to the cloth, it’s time to apply it to the wooden surface. This is a crucial step to ensure the wood maintains its shine and resilience for a long time. Here are the steps to follow:
- Start from a small area: It’s always better to start from a small area and check the result. If you are satisfied with the outcome, you can move on to a larger area. This ensures that you don’t waste your time and effort on an ineffective polishing method.
- Apply the polish gently: When applying polish to the wooden surface, it’s essential to apply it gently in circular motions. This distributes the polish evenly and ensures that the wood is not damaged. Applying the polish too harshly or unevenly can cause scratches on the wooden surface.
- Avoid over-application: When applying the polish, it’s always better to use small amounts. Over-application may cause a buildup of polish, which can result in an uneven finish or even attract dust, dirt, and stains.
- Work in sections: To avoid any missed spot, it’s recommended to work in small sections. This ensures that all parts of the wooden surface are properly polished and that the finished output is consistent.
- Check for streaks and blotches: After applying the polish to the wooden surface, it’s recommended to check for any streaks or blotches. Wipe them off immediately with a clean cloth to avoid any uneven finish.
Following these simple steps can go a long way in ensuring that your wooden surface maintains its shine and resilience for a long time. Remember that applying polish to a wooden surface is an art, and practice only makes perfect.
Step 4: Let the Polish Dry
After applying the polish to the wooden surface, it is crucial to let it dry completely before moving on to the next step. This step is essential for achieving the best results in maintaining the shine and resilience of your wooden surfaces.
Why is it important to let the polish dry?
| Reason | Explanation |
| Avoid Streaking | If you start buffing the surface before the polish is dry, it can cause streaking and leave marks on the wooden surface. |
| Even Application | Letting the polish dry helps in achieving an even application on the wooden surface. It allows the polish to penetrate and spread evenly, giving you a more consistent finish. |
| Avoid Damaging the Wood | If the polish is not completely dry, it can damage the wooden surface. The excess moisture can seep into the wood and cause damage over time, such as warping, discoloration, or even splitting. |
How long should you let the polish dry?
The drying time for the polish varies depending on the type of polish used, the climate, and the humidity level in your area. As a general rule of thumb, it is recommended to let the polish dry for at least 10-15 minutes. However, it is best to refer to the instructions provided by the manufacturer for specific drying times.
How can you tell if the polish is dry?
To check if the polish is dry, lightly touch the surface with your finger or a clean, dry cloth. If it feels tacky or wet, it is not dry yet. It is essential to wait until the surface feels completely dry before moving on to the next step.
By following these simple tips, you can ensure your wooden surfaces maintain their shine and resilience for a long time.
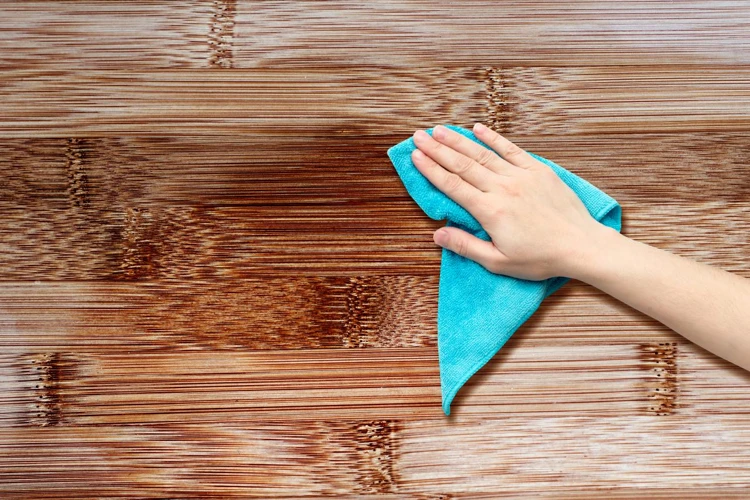
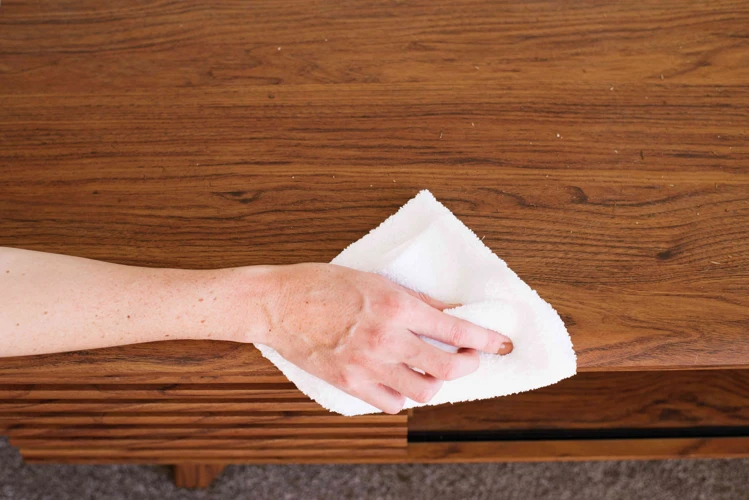
Step 5: Buff the Wood with a Clean, Dry Cloth
After the polish has dried on the wooden surface, the final step is to buff the wood with a clean, dry cloth. Buffing will remove any excess polish and bring out the shine of the wood. Here are some expert tips for buffing your wooden surfaces:
| Tip #1: | Choose a soft cloth that won’t scratch the surface of the wood. |
| Tip #2: | Start buffing in a circular motion, applying gentle pressure. |
| Tip #3: | Make sure to buff the entire surface evenly to avoid any streaks or patches. |
| Tip #4: | Use a second clean, dry cloth to give the surface a final buffing for an extra shine. |
Remember, buffing should be done gently and evenly to avoid causing any damage to your wooden surfaces. With proper care and maintenance, your wooden surfaces will continue to shine and maintain their resilience for years to come.
Polishing Maintenance
Maintaining the shine and resilience of your wooden surfaces can be a daunting task, but using polish can help protect them from daily wear and tear. However, knowing how often to polish and what to avoid is crucial to prolonging the life of your surfaces. In this section, we will delve into polishing maintenance and provide expert tips on how to keep your wooden surfaces looking their best. So, let’s get started!
How Often Should You Polish?
Maintaining the shine and resilience of wooden surfaces is not a one-time task, but it requires regular care and attention. Knowing how often you should polish your wooden surfaces depends on several factors. For instance, high-traffic areas such as floors, table tops, and kitchen cabinets require frequent polishing compared to wooden furniture that is rarely used.
To help you determine the frequency of polishing your wooden surfaces, refer to the following table:
| Type of Wooden Surface | Frequency of Polishing |
|---|---|
| Floors | Every 1-2 months |
| Table tops | Every 2-4 weeks |
| Kitchen Cabinets | Every 2 weeks |
| Wooden furniture | Every 3-6 months |
It is important to keep in mind that excessive or improper polishing can damage the wood and cause a buildup of polish residue. Overusing polish can cause the wood to become greasy, sticky or dull, and may even attract more dirt and dust onto the surface.
So, it is advisable to follow the aforementioned suggested frequency of polishing to maintain your wooden surfaces’ durability and shine. If you notice that your wooden surfaces have accumulated dirt, grease, or grime, then cleaning them with a damp cloth first will help improve the effectiveness of the polish and reduce the risk of damage.
Do’s and Don’ts of Polishing Wooden Surfaces
When it comes to polishing wooden surfaces, there are certain things you should and should not do in order to maintain their shine and resilience. Here are some expert tips on the do’s and don’ts of polishing wooden surfaces:
Do’s:
- Do use a high-quality polish that is specifically formulated for wood surfaces.
- Do clean and prepare the surface properly before applying the polish.
- Do follow the manufacturer’s recommended application method and drying time.
- Do use a clean, dry cloth to buff the wood after polishing.
- Do use protective gear such as gloves to avoid getting polish on your skin.
- Do test the polish on a small, inconspicuous area before applying it to the entire surface.
Don’ts:
- Don’t use furniture polish or other products that are not specifically designed for wood surfaces.
- Don’t apply too much polish as it can leave a sticky residue.
- Don’t use abrasive materials such as steel wool or scouring pads to apply or remove polish.
- Don’t polish over unfinished or unsealed wood as it can damage the surface.
- Don’t allow polish to sit on the surface for too long as it can cause discoloration or warping.
- Don’t polish too often as it can cause buildup and dull the shine of the wood.
By following these expert tips and taking care of your wooden surfaces properly, you can ensure that they maintain their shine and resilience for years to come.
Conclusion
In conclusion, using polish for wooden surfaces is essential for maintaining their shine and resilience. It is important to understand the different types of polish available, including liquid, paste, and spray polishes, in order to choose the right one for your needs. Preparing the surface is also crucial and involves cleaning the surface thoroughly and removing any old layers of polish.
When it comes to applying polish to wooden surfaces, it is important to follow a step-by-step process. This process includes shaking the polish well, applying it to a clean, dry cloth and then applying it to the wooden surface. After allowing the polish to dry, it is important to buff the wood with a clean, dry cloth to achieve the desired shine.
While polishing is important for maintaining wooden surfaces, it is also important to understand proper maintenance. Knowing how often to polish your wooden surfaces and what practices to avoid are crucial for achieving long-lasting shine and resilience.
Overall, by following the expert tips outlined in this article, you can maintain the beauty and longevity of your wooden surfaces for years to come. With the proper preparation, application, and maintenance, your wooden surfaces will shine and withstand the test of time.
Frequently Asked Questions
How often should I polish my wooden surfaces?
You should polish your wooden surfaces every 2-3 months to maintain their shine and resilience.
What is the difference between liquid, paste, and spray polish?
Liquid and spray polishes are easier to apply and best for quick touch-ups. Paste polish is great for deeper cleaning and scratch removal.
Can I use regular cleaning products instead of polish?
No, regular cleaning products may contain chemicals that can damage the wooden surface. Always use a polish specially designed for wooden surfaces.
Can I use polish on painted or stained wooden surfaces?
No, polish is meant for natural wood surfaces without any paint or stain. Using polish on painted or stained surfaces may cause discoloration or damage.
Do I need to remove old polish before applying a new layer?
Yes, removing old polish is essential for the new layer to adhere properly and avoid buildup.
How do I remove old layers of polish?
You can remove old layers of polish using a stripping agent or sandpaper. Make sure to follow the manufacturer’s instructions and use protective gear.
Can I use polish on outdoor wooden furniture?
No, polish is not suitable for outdoor wooden furniture as it may not withstand harsh weather conditions. Instead, use a sealer or oil to protect the wood.
Can I polish wooden floors?
Yes, you can polish wooden floors, but make sure to use a polish specifically designed for floors, and follow the instructions carefully.
What should I do if the wood surface is scratched?
You can use a paste polish with fine abrasives or fill the scratch with wood filler before applying the polish.
What should I avoid when polishing wooden surfaces?
Avoid using too much polish, using abrasive or rough cloths, and exposing the wood to direct sunlight or heat sources.